Painting an Orange-tip Butterfly in watercolours.
Posted on
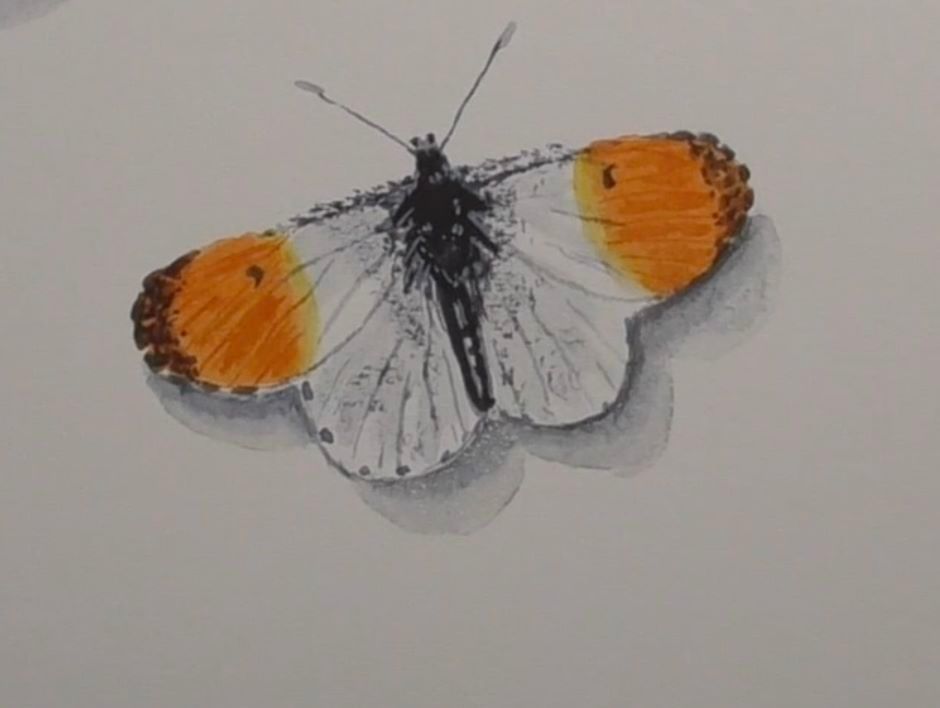
Painting an Orange – Tip Butterfly with Julie Weir (watercolour).
In this step-by step guide I show you how to paint an Orange – tip butterfly in watercolour. These butterflies are often seen as the first sign of spring in the UK, fluttering up and down close to flowery verges and hedgerows. The male is particularly striking, with bright orange tips on its white upper forewings. I often see them fluttering past me on the canal and I was shocked to find out that they live for just four weeks. So with that in mind, I just had to paint one as a lasting memory.
Materials List
Brushes:
Small round size 00
Round size 2
Watercolours:
Sennelier Red Orange 640
Sennelier Burnt Sienna 211
Sennelier Yellow Deep 579
Sennelier Burnt Umber 202
Sennelier Payne’s Grey 703
Sennelier Titanium White 116
Paper:
Saunders Waterford hot pressed watercolour paper.
Also:
Tracedown or tracing paper
Ceramic palette
Waterpots x 2
Pencil
Rubber
click here for the Reference photo
click here for the Line drawing
- Transfer the line drawing onto your watercolour paper using Tracedown or tracing paper with a very light touch. You can always draw it out freehand if you prefer.
- Using a size 2 paintbrush add clean water to wet the paper where the orange colour will be added on each side of the forewing. Now use Sennelier Red Orange and add the colour to the wet areas. Allow to dry.
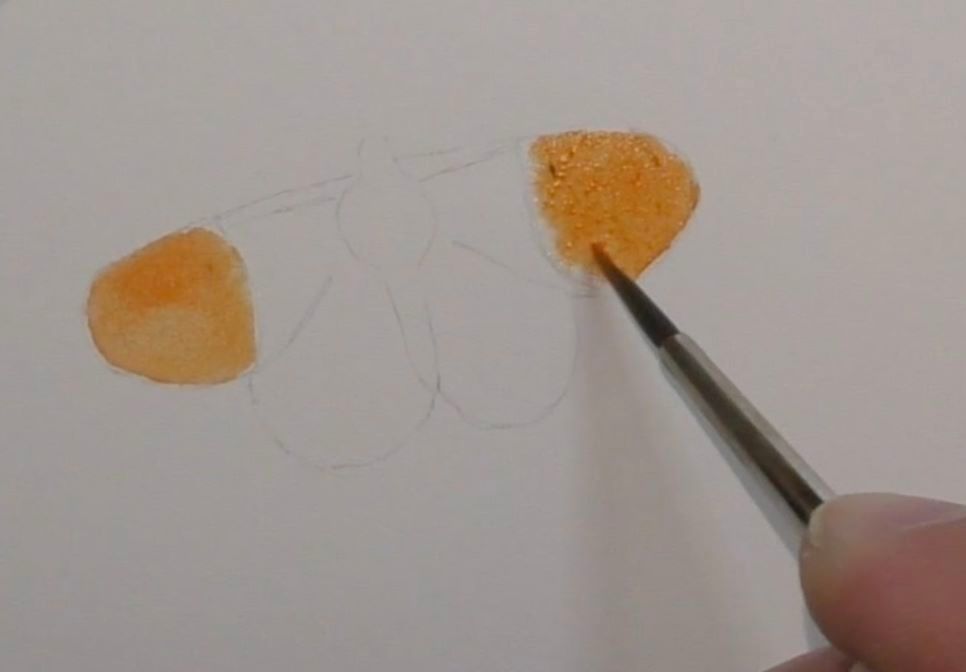
- Now add Burnt Sienna to the wing tips, by stippling the paint over the orange by a couple of millimetres. Then use Yellow Deep down each edge between the orange area and the white. When dry, add another layer of red orange to the orange area.
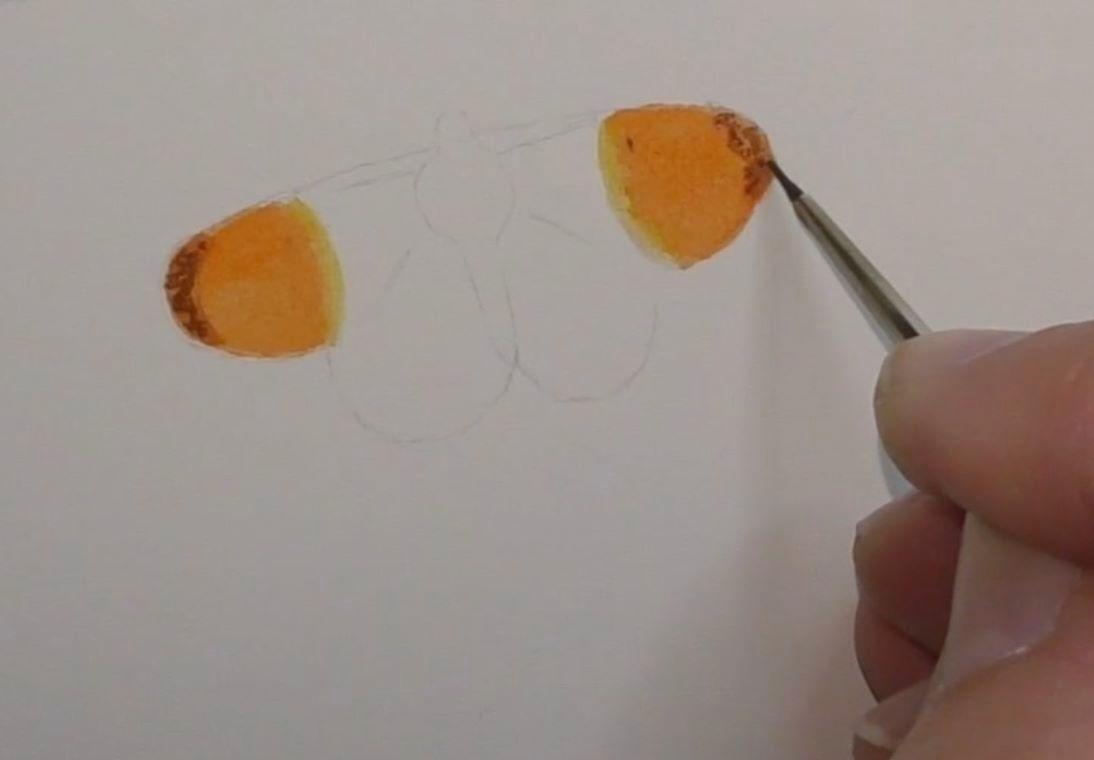
- Using the 00 paintbrush, pick up the Burnt Umber and use this to add little dashes around the edge of both forewing tips. Now mix together Red Orange and Burnt Sienna and use this to add veins onto the orange part of the wings on either side.
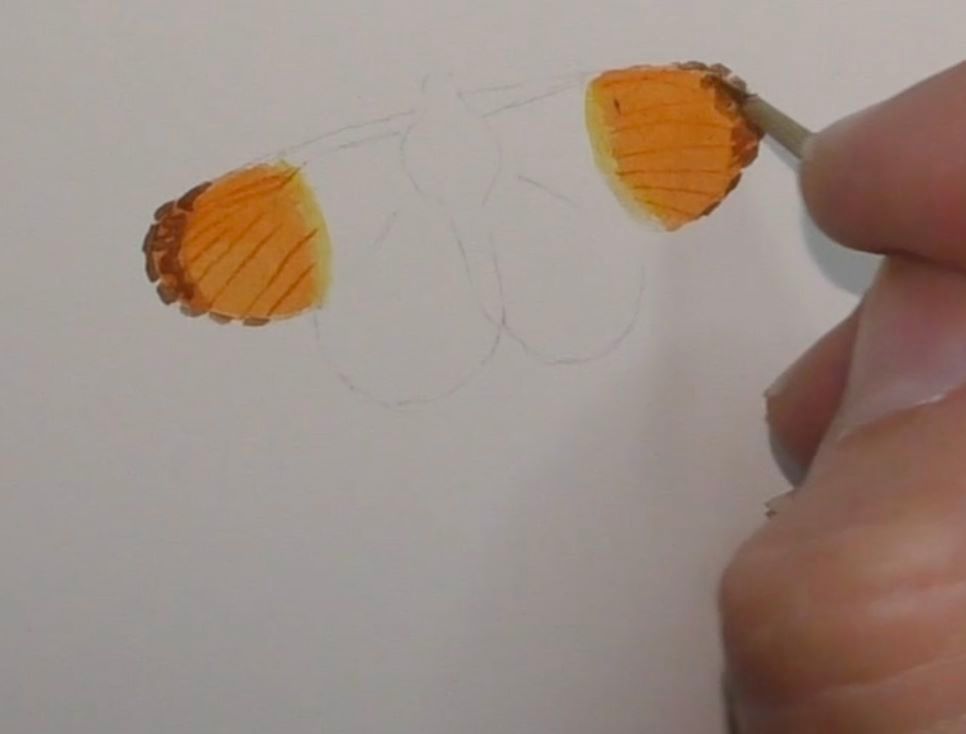
- Using your size 2 paintbrush mix up a watery mix of Payne’s Grey by adding a lot of water to make the colour a pale grey. Use this colour to add in the Antenna’s. Use the same pale mix of Payne’s Grey over the hindwings (bottom wings), leaving some areas showing the white paper. Using the same watery grey, paint the white areas on the top forewings.
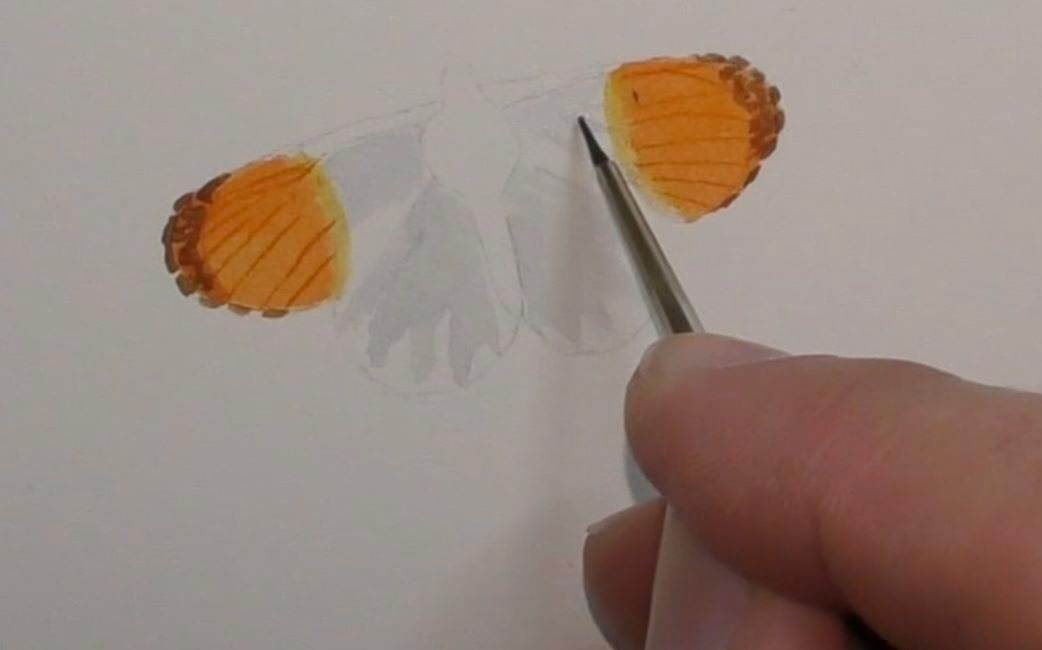
- Now pick up your size 00 paintbrush, and using the Payne’s Grey mix, stipple dots over the Burnt Sienna edges of the wings tips. Now add one large dot on either side of the top wings.
- Use the Payne’s Grey mix to fill in the Thorax (body) and then take the colour down either side of the abdomen, leaving the paper white down the centre. When dry add another layer of Payne’s Grey over the body to darken it slightly. Use the same watery colour to add veins to all the grey areas of the wings, matching up the veins that are already in the orange areas. Define the top wing by outlining the bottom section of this wing.
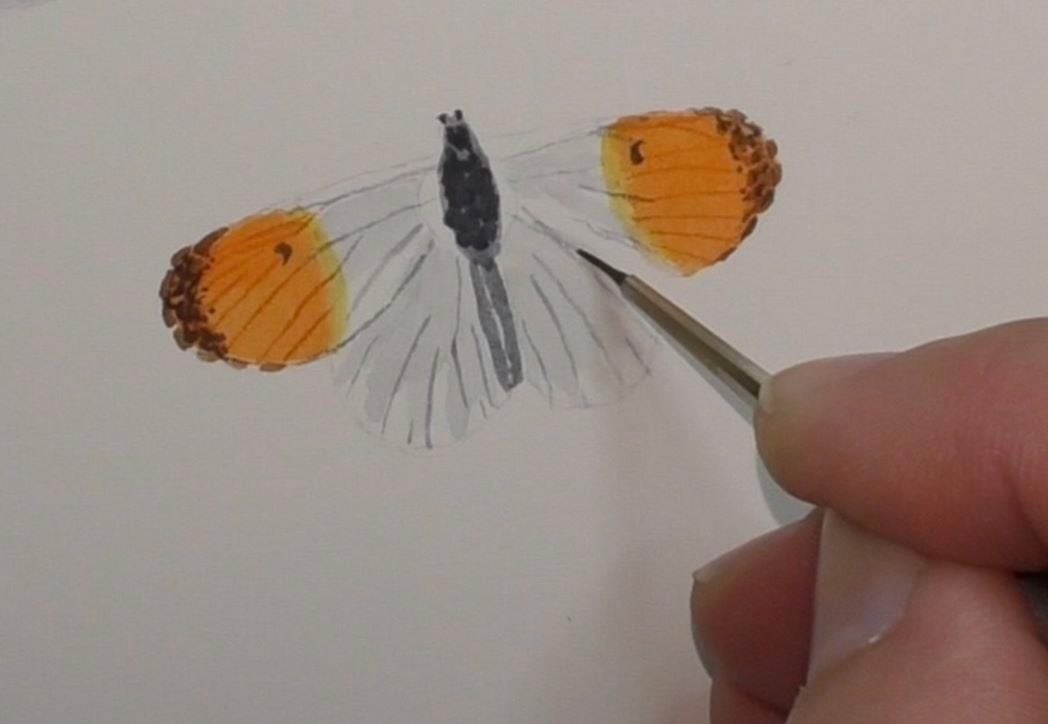
- Continue using the size 00 paintbrush and with the Payne’s Grey, stipple some dots on either side of the body. Then add an outline to the top wing using the same colour. Add another layer of Payne’s Grey to the abdomen and put three horizontal lines across the white centre.
- Stipple some dots using Payne’s Grey across the top of the forewing and down onto the wings to add texture. Then use the same stippling technique to add tiny dots onto the bottom wings. Use the Payne’s Grey to add small lines around the outside of the bottom wings.
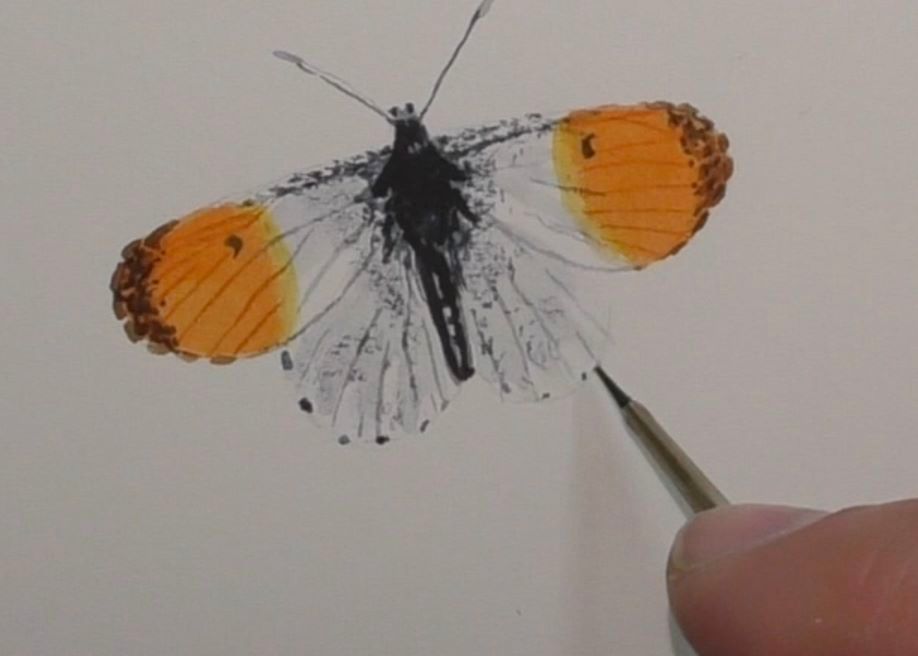
- Use the size 00 brush and Titanium White to add some dots onto the body.
- Make a shadow underneath the butterfly, as this will really help to give it a 3D effect. Use a very watery mix of Payne’s Grey and your size 2 paintbrush, working the paint around the bottom of the butterfly, 3 – 4 mm in depth. Allow this to dry, then add another layer of Payne’s Grey, this time making sure the colour is darker closer to the wings.
Email: [email protected]
Facebook: JulieWeirArtist Twitter: JulieWeirpaints Instagram: julieweirart
